Pinch me please! And not because it's almost St. Patrick's Day and I was caught not wearing green. We built (ok when I say "we" it sounds like we did all the work - obviously that is so not the case. I mean we went with new construction for our home) back in 2011, and were so excited to have a brand new home and to pick everything ourselves that we were unaware of how many things needed a little more thought and attention. We were basically kids buying our first house, and were amazed at how much more house we were able to get in Florida compared to where we grew up in Connecticut.
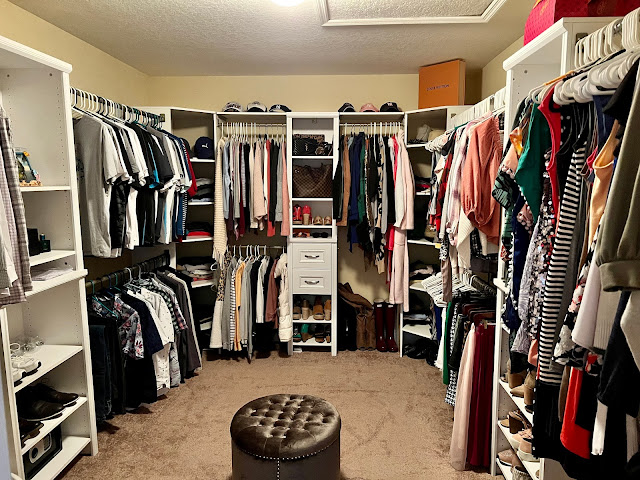
Fast forward to a decade later, and we have been re-doing spaces that weren't done right the first time around. Exhibit A: our master closet. We had a builders grade rack put up all the way around, and that was it. No shelving, drawers, etc... it was a terrible usage of the big space.
If you've been following along on Instagram, I've been documenting in Stories how we have been tackling a DIY master closet re-design. This is something I've wanted to do for several years, but couldn't stomach the cost of professional installation. It's seriously SO expensive, like I'm talking we could gut our kitchen for the same amount. Craziness!
My husband mentioned a few months back that he could install it himself if we purchase closet systems from Home Depot or Lowes. I initially said absolutely not because I was afraid it couldn't be done, but I eventually warmed up to the idea and am SO glad I did! I'm already LOVING the newly transformed space. We ordered everything from Home Depot, and as the sections arrived, he worked on it here and there on the weekends or at night.
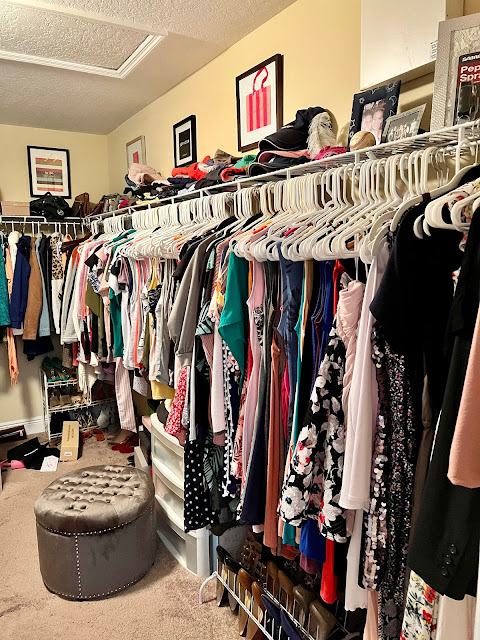
BEFORE
As you can see above - the "before" photos are a cluttered mess and horrible use of the space. We had a builders grade rack going around the whole perimeter and that was it. No fun shelves or drawers, no tiered racks, etc... I even still had a plastic dresser that I used in college to move back and forth from the dorms. It was that bad...
DURING
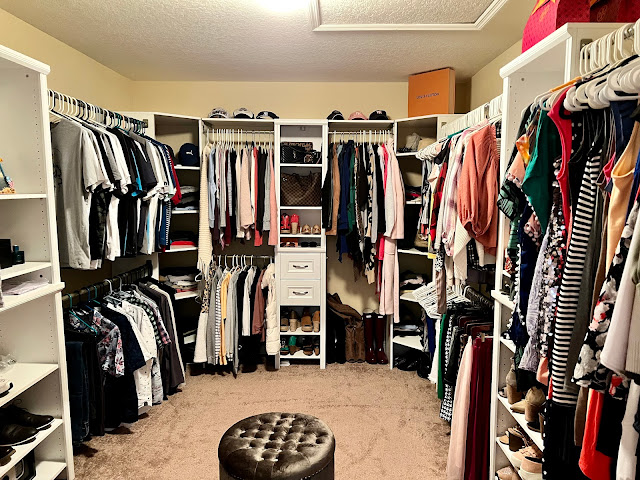
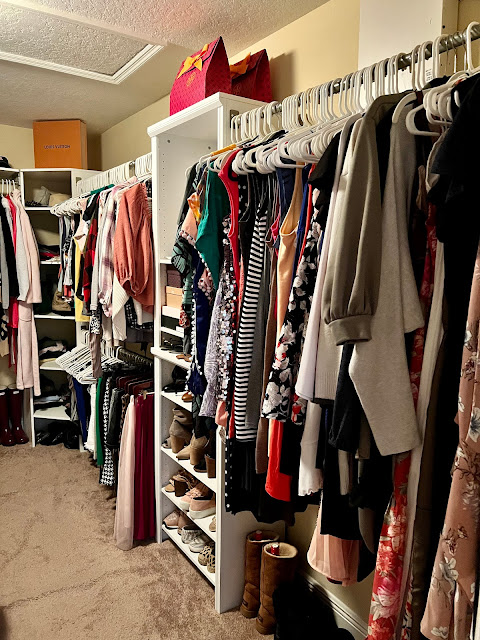
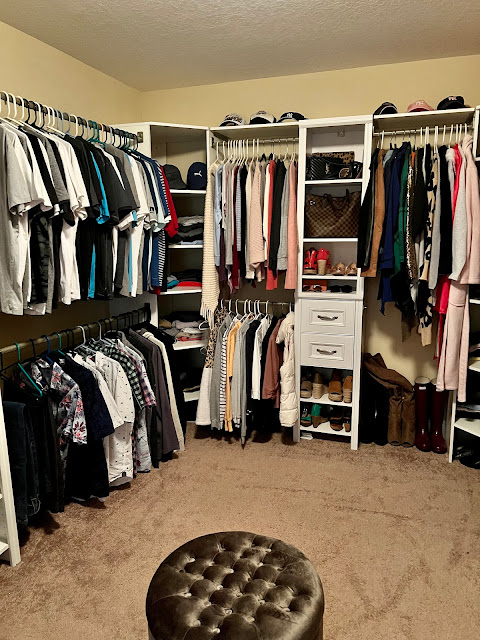
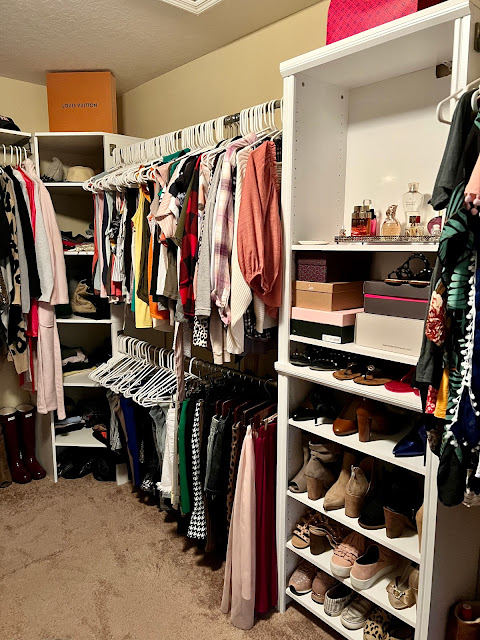
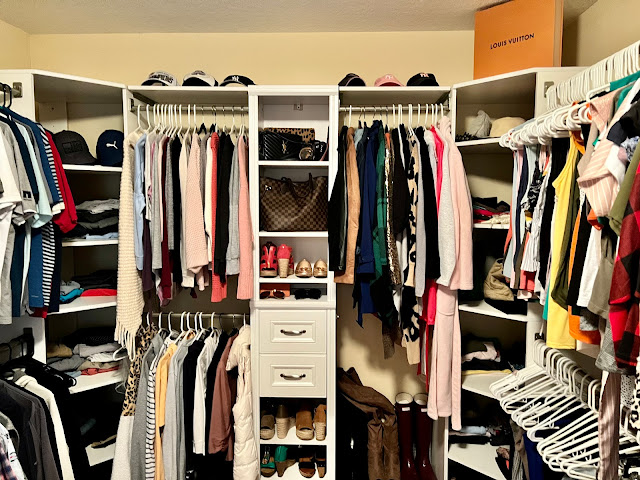
AFTER
Here's a breakdown of the closet system pieces we purchased:
We were pleasantly surprised by the quality of the materials and easy to follow directions and installation. After measuring, make sure you're ordering closet system kits that will fit your space appropriately and utilize the existing holes in the walls after removing what's currently there to locate the studs.
Real Talk: I don't want to paint the picture that this was 100% easy. It was much easier than I had originally thought, but we still hit a few hiccups along the way.
Hiccup #1: Even after measuring the space, and researching pieces and systems online the rods for the closet systems we picked for both sides were about 1/2 an inch too short. SO frustrating! So, we ordered some extra rods which meant we were using 3 rods instead of 2 for each level of bars to hang our clothes up on.
Hiccup #2: Since the rods were about 1/2 an inch too short that meant the boards that would act as shelves above the bars were also too short. We decided to scrap them, and only put shelves above the bars on the back wall. Thankfully, we have more than enough storage for our needs and didn't end up needing them.
Hiccup #3: Speaking of the shelving boards - for the back wall they were too long so we tried a hack saw which wasn't doing the job, and ended up having them professionally cut at Home Depot. Insider tip - they cut them for free since the materials were purchased through their store.
Another big bonus is while we were moving everything out of the closet and then back in after completion we were able to really go through all of our stuff and found plenty of items to donate. I dropped off a few big bags of clothing and shoe donations throughout the re-do, and it felt great!
I also listed a few new items on Poshmarkand some of his clothes are on there too. Has anyone else noticed it's much harder to move men's clothing on Poshmark than woman's? I think I've sold one pair of his jeans, and I end up donating his clothes when they have been sitting on the site too long without anyone interested.
Another beautiful weekend in the books, albeit a heavy one. All the emotions are flying high right now, but I am thankful that I was able to spend quality time with my husband while Lil' Miss enjoyed a gymnastics party at her gym (their monthly parents night out parties are GOLD!) and then on Saturday I spent quality time with my best girl and took her to the playground before having lunch at one of our favorite local spots. Lots of outdoor time and sunshine which is always good for the soul.
For date night we headed to the Tap Room at Dubsdreadwhich is right on the golf course, and we even saw a wedding going on. We asked for a table outside with golf course views, and the weather was perfection.
Then we headed into downtown for a nightcap to check out The Wellborn which is the cutest hidden gem that is actually a part of a boutique hotel, and has a beautiful courtyard and kitchen and bar. My girlfriends and I have been talking about checking out their brunch, but had to postpone. So, fingers crossed our schedules will align soon because I can't wait to go back.
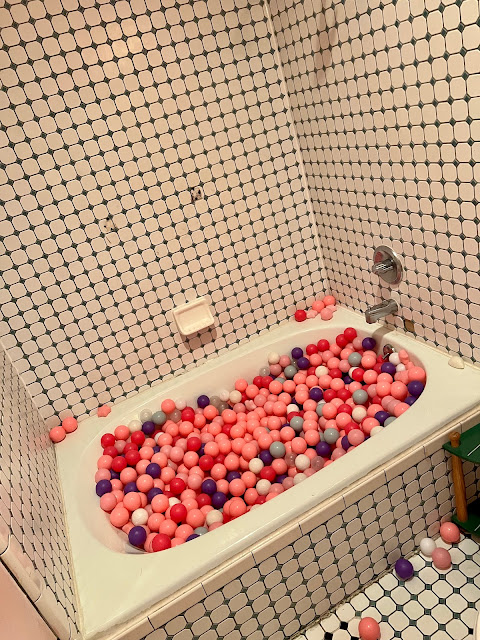
They have the prettiest cocktails, and even the bathrooms are super cute. I walked in, and not only did it not "smell like bathroom" but there was a bathtub filled with colorful ball pit balls. In my opinion it's a look don't touch situation because well it is a public bathroom. Ha!
The next morning, I decided to skip my workout after throwing some laundry in and take Lil' Miss to the playground and out for some lunch. She was living her best life running around, going down all the slides and climbing to her hearts content. She makes me SO nervous with how high she climbs, but she's a champ. Mini cheeseburgers with a side of fruit instead of fries was her lunch order which didn't stop her from stealing some of my fries of course!
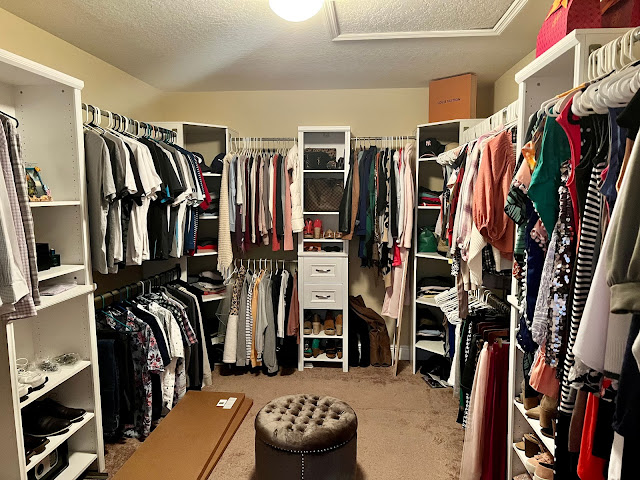
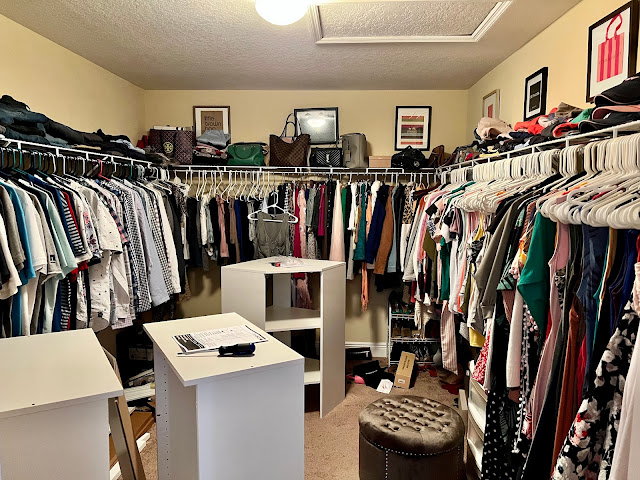
We are ALMOST done on the DIY closet re-design. Just need to add the shelves above the bars in the back, organize a few more things and clear out all the tools. I couldn't be happier with how it came out, and am incredibly thankful that we didn't spend thousands of extra dollars for professional installation. It was daunting at first, but actually not that bad and SO worth it!
If you haven't been following along on InstagramStories, this is the before shot:
This is something I've wanted to do for several years, but couldn't stomach the cost of professional installation. It's seriously SO expensive, like I'm talking we could gut our kitchen for the same amount. Craziness!
My husband mentioned a few months back that he could install it himself if we purchase closet systems from Home Depot or Lowes. I initially said absolutely not because I was afraid it couldn't be done, but I eventually warmed up to the idea and am SO glad I did. We ordered everything from Home Depot, and he's been working on it here and there on the weekends or at night.
As you can see above the "before" photo is a cluttered mess and horrible use of the space. We had a builders grade rack going around the whole perimeter and that was it. No fun shelves or drawers, no tiered racks, etc... I even still had a plastic dresser that I used in college to move back and forth from the dorms. It was bad...
I'll come back with final photos, and a breakdown of everything we ordered, what we needed and the roadblocks we ran into.
Adding some DIY fall decor to the house made it feel more homey, and I loved how easy this mini-project was.
All you need is a bag of candy corn, a hurricane glass, and an unscented candle. I placed the candle in the empty hurricane glass and poured the candy corn in until about half full.
Can't wait to light it on Halloween admist the orange twinkle lights on the mantle. What are some of your favorite DIY fall decor projects?












.JPG)
.JPG)
.JPG)
.JPG)


.JPG&description=Adding some DIY fall decor to the house made it feel more homey, and I loved how easy this mini-project was. All you need is...)